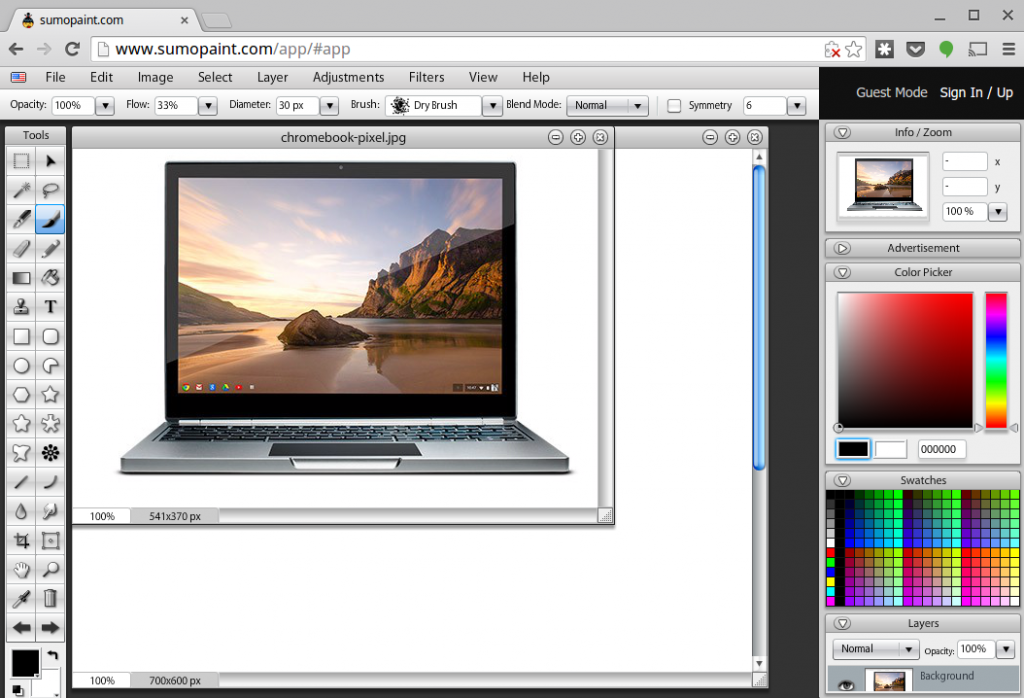
Know to edit photos on a Chromebook – There is no full featured photo editing software is install on Chromebook so may users think that there is no provision to edit the photos on Chromebook. But it can be done with the help of basic photo editor built right into the Gallery app on every Chromebook or using Google Photos’ web editor. Know the various way to do it :
How to Edit Photos on a Chromebook with Gallery app
Every Chromebook comes with the Gallery app. It is pre-loaded apps on a Chromebook. The galley app may helpful in photo editing, like :
- Crop an image
- Resize an image
- Adjust the brightness/contrast of an image
- Rotate an image
By default, the Gallery app is opened whenever you double-click an image. By default, editing an image in the Gallery app will overwrite the original.
- Open the Files in your app drawer.
- Double-click an image in your Files that you want to edit.
- Tap the pencil icon in the top bar of the app or type E to open Edit mode. Pick your editing tool from the bottom carousel:
- To “auto-fix” an image, which adjusts the contrast/brightness based on algorithms, tap the magic wand icon.
- To crop an image, cutting off extraneous parts of a picture, tap the overlapping right angles icon. You can use a free form crop or crop according to five preset aspect ratios.
- To resize an image, adjusting the number of pixels that make up an image, tap the photo inside a larger frame icon. You can resize it with a fixed scale or you can tap the lock icon to adjust the width and height independently.
- To adjust the brightness and contrast, making a picture brighter or darker, tap the sunshine icon. There are two sliders for brightness and contrast you can drag to the left or right.
- To rotate a picture to the picture to the left or right, tap the circular clockwise or counterclockwise arrow icons.
- To undo the last step of your editing, tap the backwards arrow icon.
- To re-do an undone editing step, tap the forwards arrow icon.
- To finish editing and save your image, tap Exit in the bottom right corner.
Also Read – How To Download Video in Facebook Comment?
How to Edit Photos on a Chromebook using Google Photos
Editing photos on Chromebook using Google Photos is very helpful If you’re trying to edit a photo that you took on your phone.
- Open the Google Photos website in the Chrome browser.
- Tap the photo you want to edit.
- Tap the sliders icon in the top bar of the window or type E to open Edit mode.
- You begin in the Filters tab. You can tap Auto or another preset filter to apply it to the photo.
- When you tap a filter preset other than auto, you can then drag the slider below it to vary the potency of the filter.
- To edit a photo’s colors, contrast, and brightness, tap the sliders icon indicating the Basic adjustments tab.
- Tap the down arrow next to the Color and Light sections to expand the full controls.
- Drag the sliders left and right to adjust the image as desired.
- Tap the crop/rotate icon to open the crop/rotate tab.
- Tap the resized rectangle icon to choose between preset aspect ratios and free form cropping.
- Drag the edges of the highlighted rectangle to adjust the crop.
- Drag the 0° up or down to slightly rotate the image a smaller amount to the left or right.
- Tap the rotate icon in the top bar to rotate the image a full 90 degrees.
- Tap Done
